Door Sweep Weatherstrip Summer Cooling Leak Plan
A practical home-energy guide to finding door air leaks, choosing weatherstrip and door sweeps, and improving cooling comfort safely.
Door Sweep Weatherstrip Summer Cooling Leak Plan
A hot room near an exterior door is often blamed on the air conditioner, but the first problem may be simpler: outdoor air is leaking through the gap around the door. As of 2026-06-29, Department of Energy guidance still treats weatherstripping and air sealing as practical home-efficiency steps when they are installed carefully and paired with moisture and ventilation awareness. This guide keeps the project small: inspect one door, choose the right seal, verify the result, and avoid changes that create a new safety problem.
Quick decision table
| What you notice | Likely issue | First action | Stop or escalate when |
|---|---|---|---|
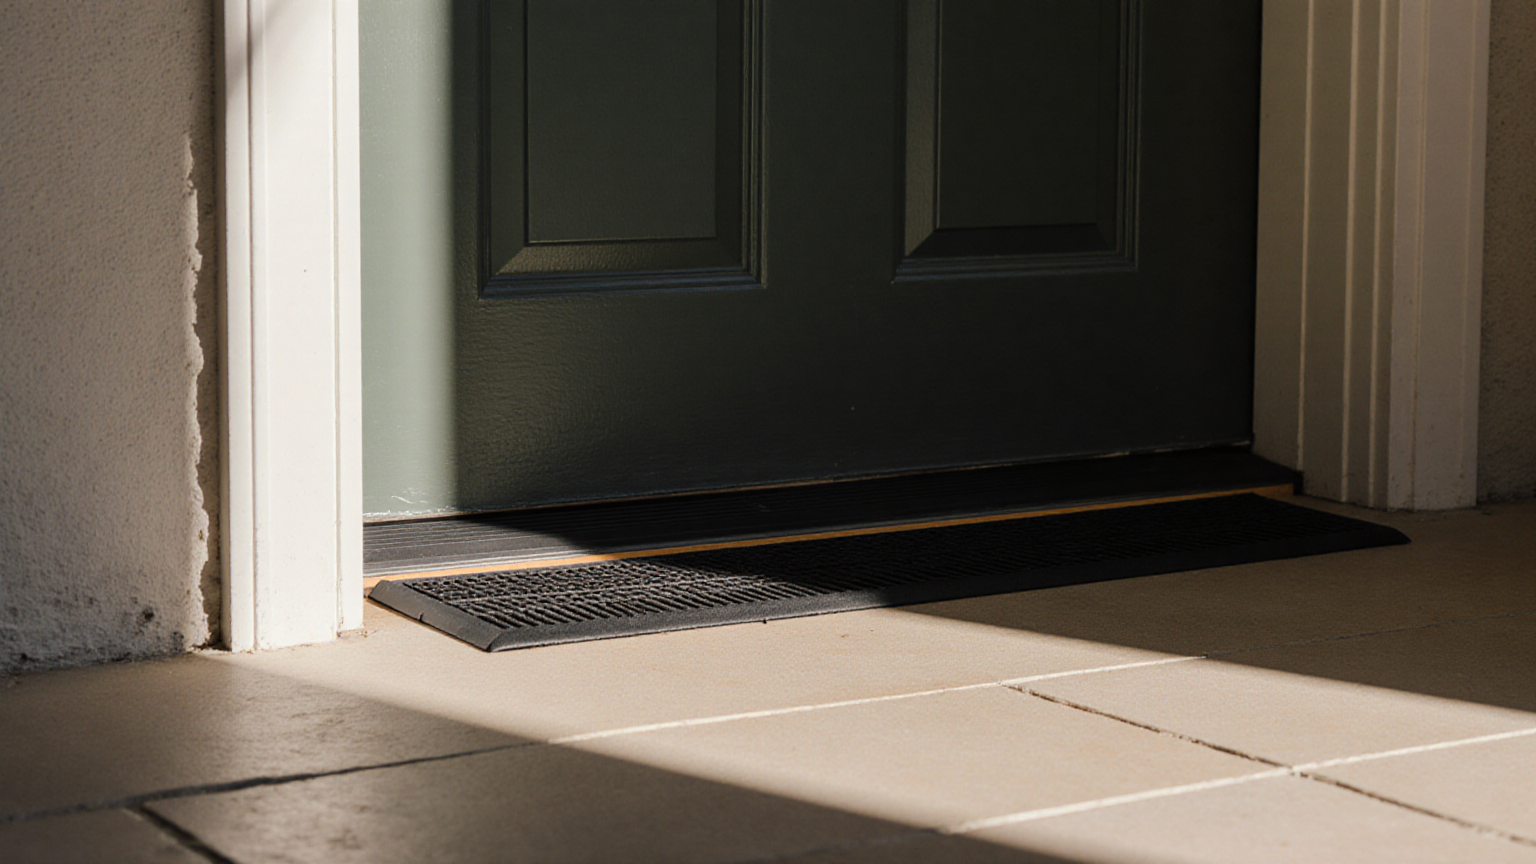
| Light under the closed door | Bottom gap | Measure for a door sweep | Door drags on threshold or floor |
| Draft at latch side | Worn compression strip | Replace side weatherstrip | Frame is warped or rotted |
| Hot entryway after sunset | Air leakage plus heat gain | Seal gaps and shade glass | Humidity or mold smell appears |
| AC runs but room stays sticky | Air leak may not be only issue | Check filter, vents, and humidity | Equipment freezes or leaks water |
The five-minute leak check
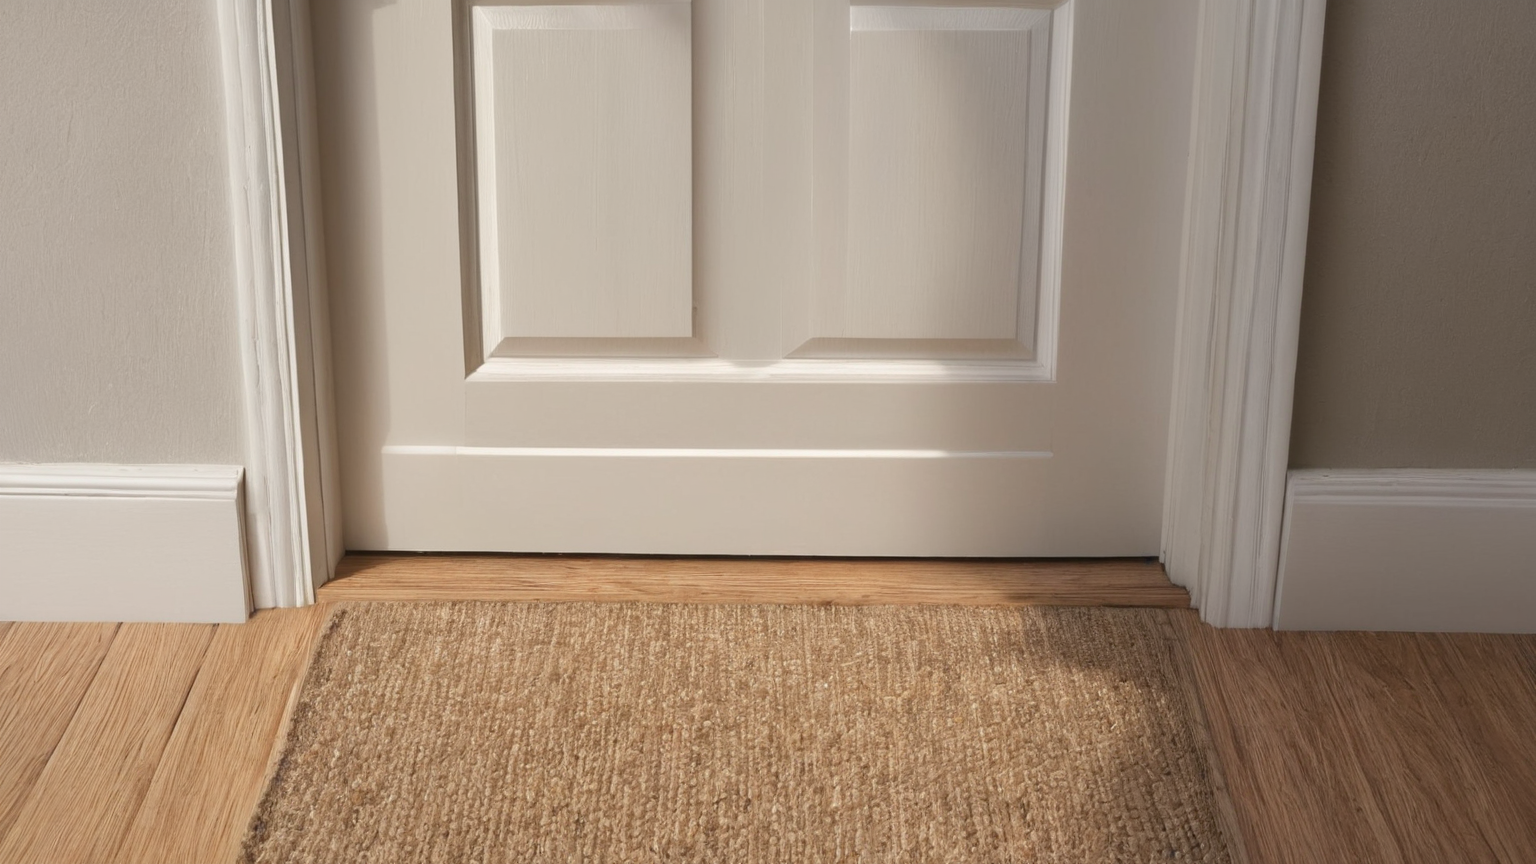
Close the door, turn off nearby fans, and inspect the bottom, latch side, hinge side, and top. Look for daylight, dust lines, insects, or a curtain that moves when the door is closed. On a bright day, stand inside and look for light. On a windy day, use the back of your hand to feel for a draft. Avoid open flames. If the door is part of a garage, combustion area, or shared corridor, be more conservative and consider qualified advice.

Choose the repair by location
A door sweep belongs at the bottom edge. Compression weatherstrip or V-strip belongs along the jamb where the door closes. Foam tape can help on some interior or low-use gaps, but it can crush quickly on a busy exterior door. A threshold adjustment may solve a small bottom gap, but forcing it too high can make the door hard to latch and wear the sweep. The best repair closes the air path while letting the door move normally.
Measure before buying
Measure the door width, gap height, and whether the door swings inward or outward. Check if screws can attach to solid material. Take a photo of the existing sweep and threshold. If you rent, ask for approval before drilling. If the door is metal or fiberglass, use fasteners and pilot holes appropriate for the material. Do not block required drainage paths or weep holes.
Installation checklist
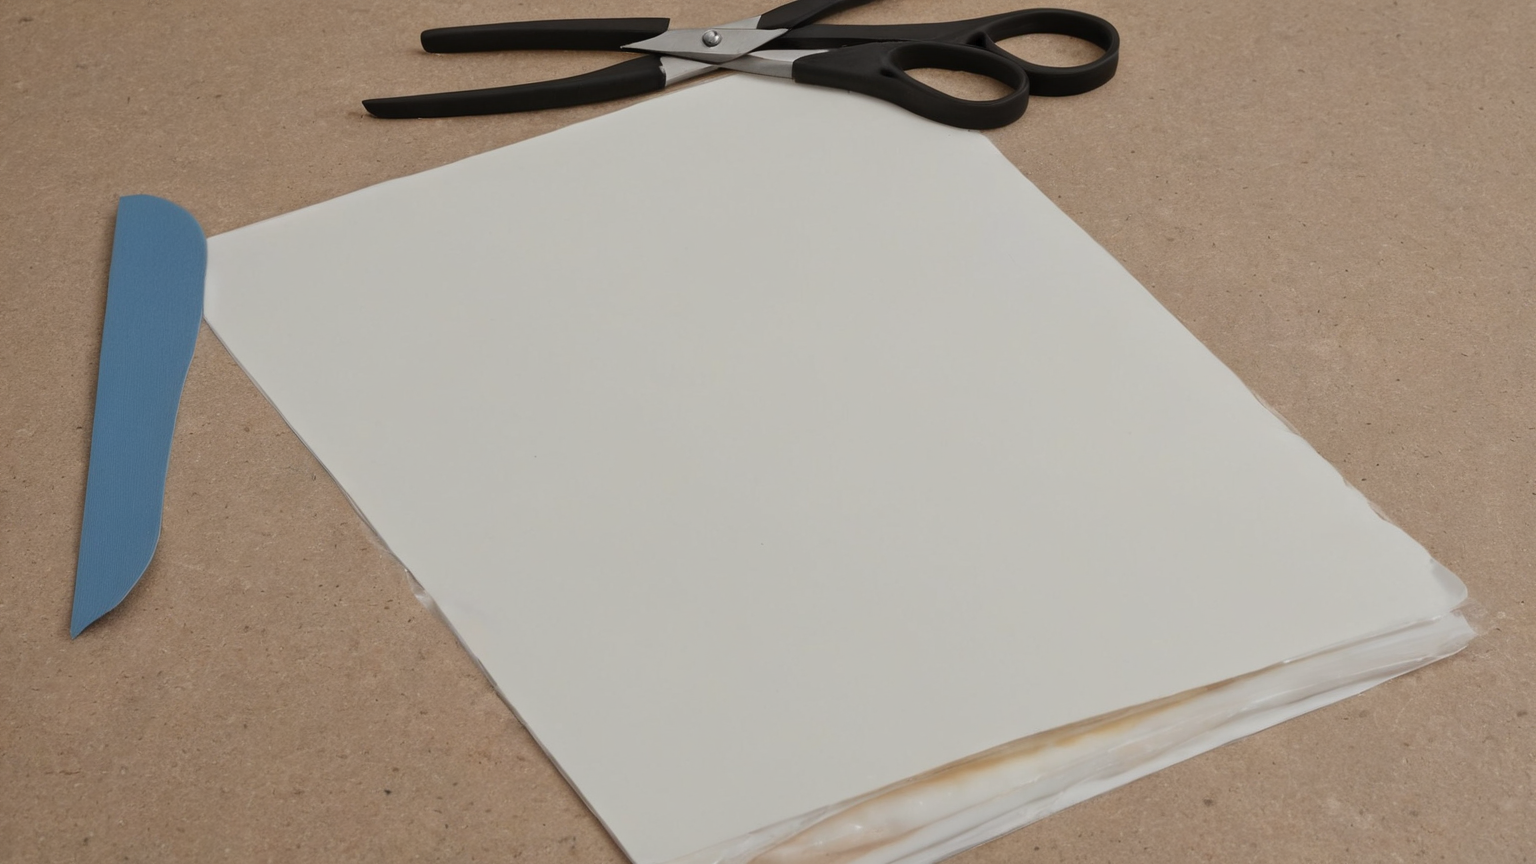
- Clean the surface so adhesive or screws seat properly.
- Cut the sweep or strip slightly long, then trim carefully.
- Test fit before removing adhesive backing or drilling.
- Close the door slowly to check for rubbing.
- Latch the door and confirm the deadbolt still aligns.
- Recheck the gap from both sides.
- After the first hot afternoon, verify that the strip has not peeled, buckled, or trapped moisture.
Comfort and energy expectations
A door sweep is not a magic bill reducer. It is a targeted fix for a visible leak. The benefit is often felt as less hot air near the entry, fewer insects, less dust, and less need to lower the thermostat to compensate for one drafty zone. If the whole home is uncomfortable, combine the door repair with filter checks, shade management, ceiling-fan use, duct awareness, and thermostat scheduling. Keep claims modest: the real win is reducing a known waste path.

Moisture and ventilation cautions
Air sealing can change how a home dries. If the door area has condensation, swelling, peeling paint, mold smell, or a history of water intrusion, fix moisture first. If the home has combustion appliances, attached garage air, or unusual pressure problems, do not seal aggressively without professional input. A healthy home is not just tight; it is controlled, dry, and ventilated appropriately.
Troubleshooting after installation
- Door will not latch: the strip is too thick or placed too far toward the stop.
- Sweep drags loudly: trim or adjust until it contacts lightly, not forcefully.
- Gap remains at one corner: the door or threshold may be uneven.
- Adhesive fails: clean residue, use a mechanical fastener style, or replace with better material.
- Room still hot: the dominant leak may be a window, attic hatch, duct, or unshaded glass.
AdSense readiness and trust note
This article is intentionally non-commercial: it does not pretend every reader needs a product, and it does not hide safety limits. The recommended next step is observation, measurement, and a reversible small repair. For electrical, structural, mold, rental-permission, or combustion-appliance concerns, use a qualified contractor or the appropriate local authority. That boundary keeps the article useful rather than thin affiliate filler.
Summary checklist
- Identify exactly where the leak is.
- Match sweep, compression strip, or V-strip to the gap location.
- Preserve latch function, drainage, and safe ventilation.
- Verify comfort after a hot afternoon, not just immediately after installation.
- Escalate when moisture, rot, combustion appliances, or warped framing are involved.