Laundry Room Dehumidifier Drain Hose Energy Plan
A practical plan for using a laundry-room dehumidifier, drain hose, fan, filter, and humidity targets without water damage or energy waste.
A laundry-room dehumidifier can protect comfort and building materials, but the savings disappear if it runs against leaks, clogged filters, bad drainage, or unrealistic humidity goals. This guide was checked on 2026-06-20 against ENERGY STAR, DOE, EPA, and CDC resources. It is general home-energy guidance, not electrical, plumbing, or mold-remediation advice; use qualified professionals for wiring, persistent water intrusion, or significant mold.
Decision table
| Situation | Safer choice | Mistake to avoid |
|---|---|---|
| Room smells damp after laundry | Ventilate and run dehumidifier as needed | Leaving wet loads and expecting the unit to fix everything |
| Hose drains continuously | Verify slope, secure fit, and clear floor path | Routing across a walkway or uphill |
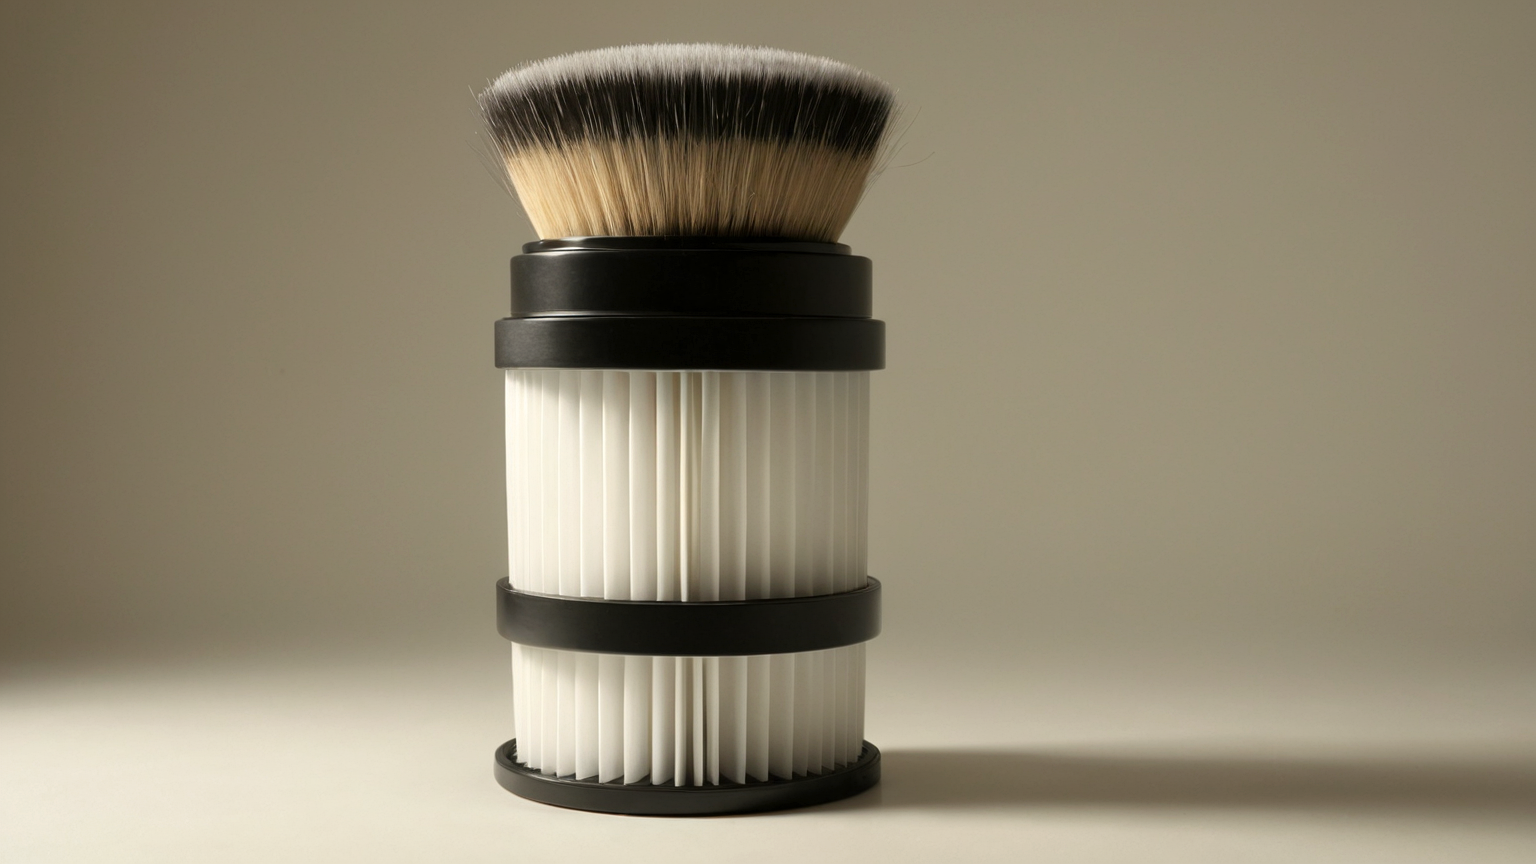
| Filter is dusty | Clean per manual and recheck performance | Running longer with reduced airflow |
| Visible mold or water intrusion | Address source and seek qualified help when needed | Treating dehumidification as remediation |
1. Fix water sources before buying runtime
A dehumidifier should manage residual humidity, not hide a leak, missing venting, or wet foundation issue. If water keeps appearing, start with drainage, ventilation, and repair before adding more machine hours.
For a laundry room, the stop condition is physical: water reappears, the wall stays damp, the hose backs up, or the bucket fills faster than expected. At that point, do not keep buying runtime. Pause the unit, dry the area, and identify whether the source is venting, plumbing, exterior drainage, or a room that needs professional mold or moisture review.
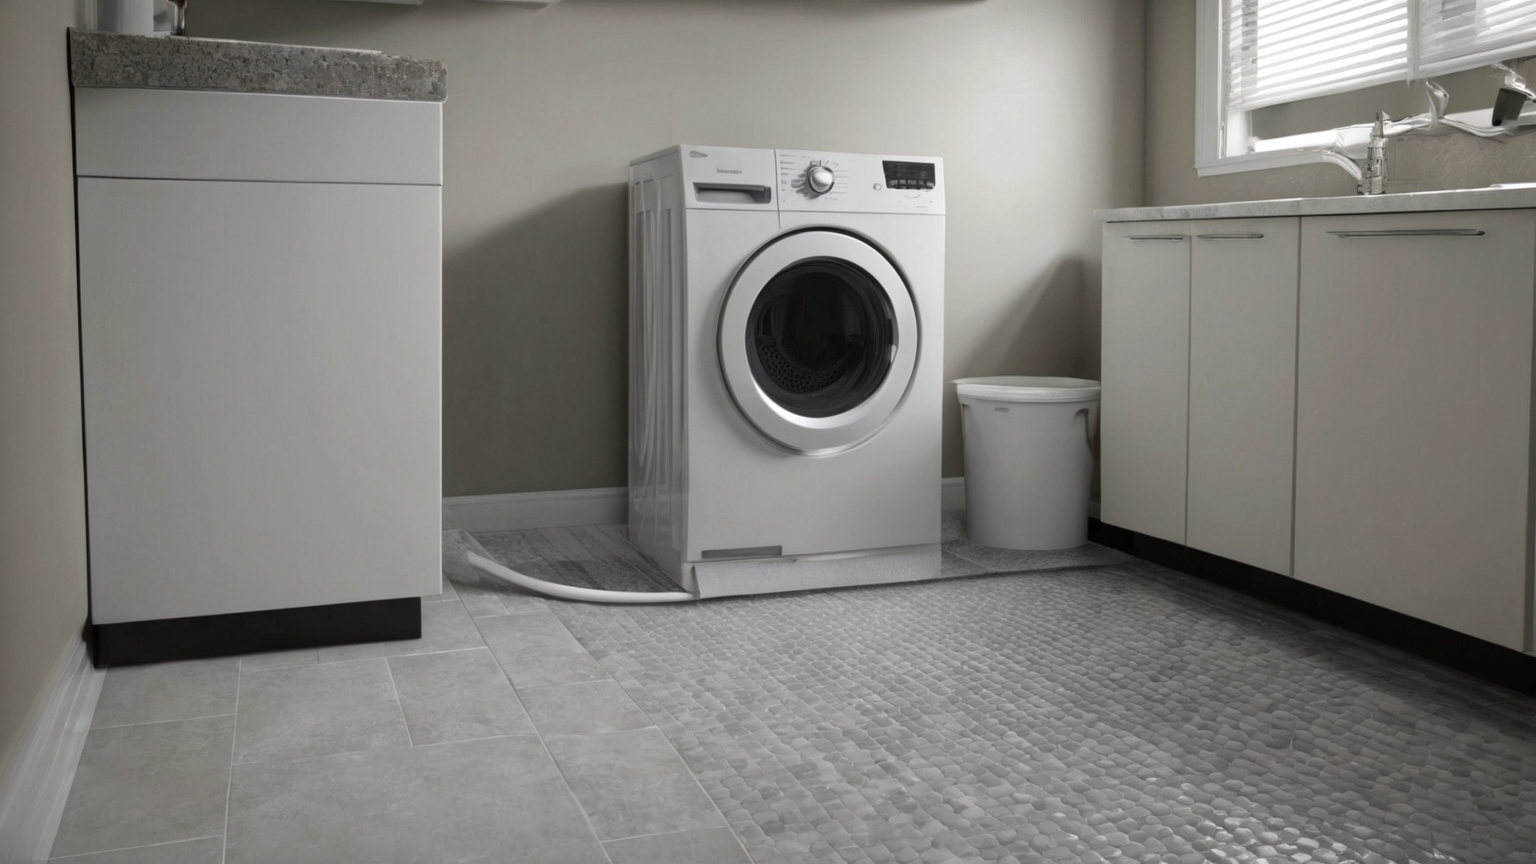
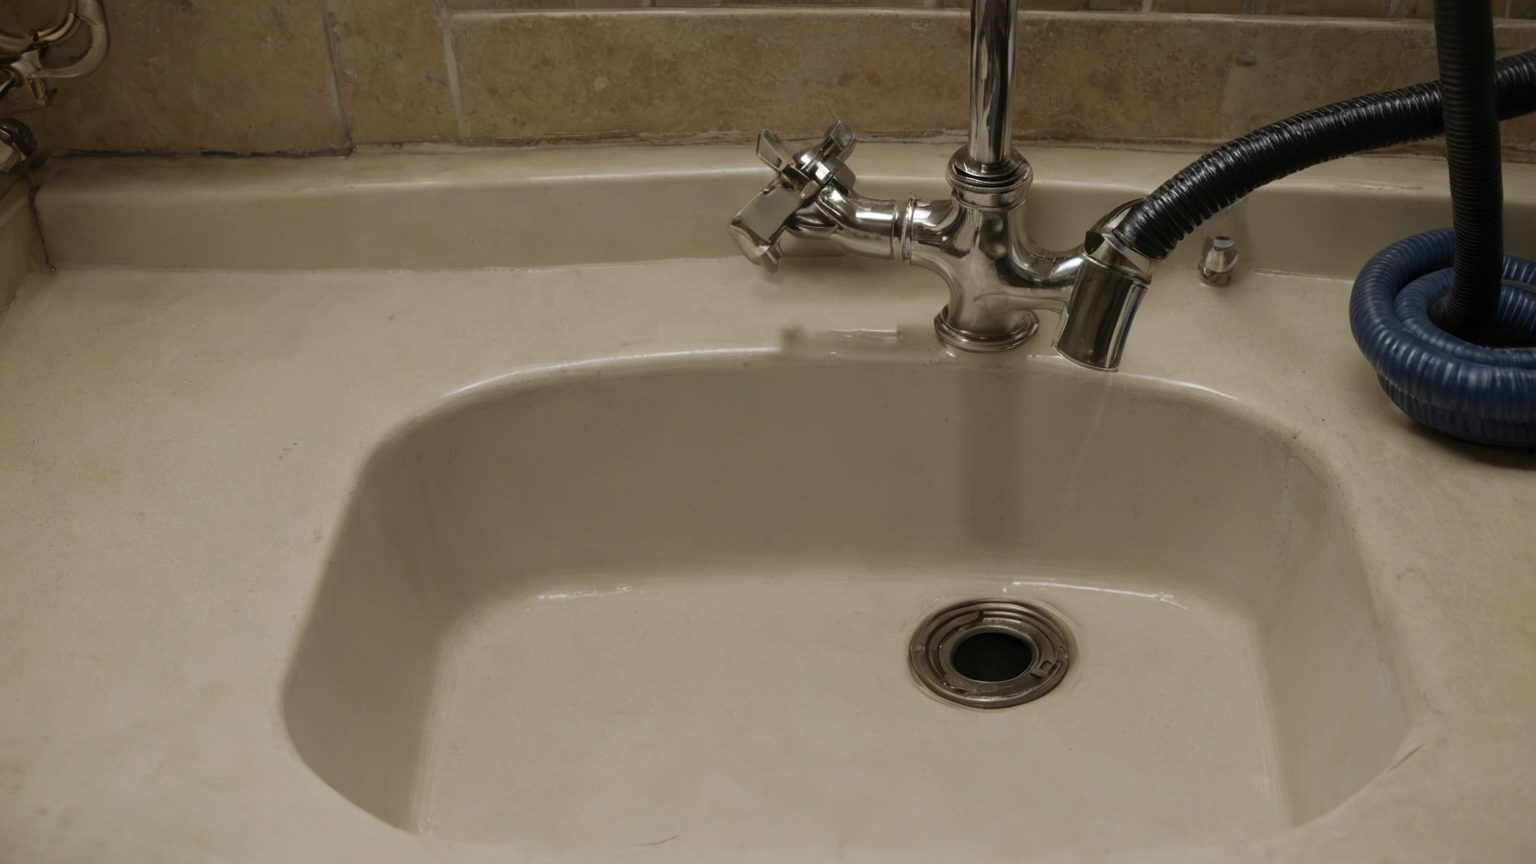
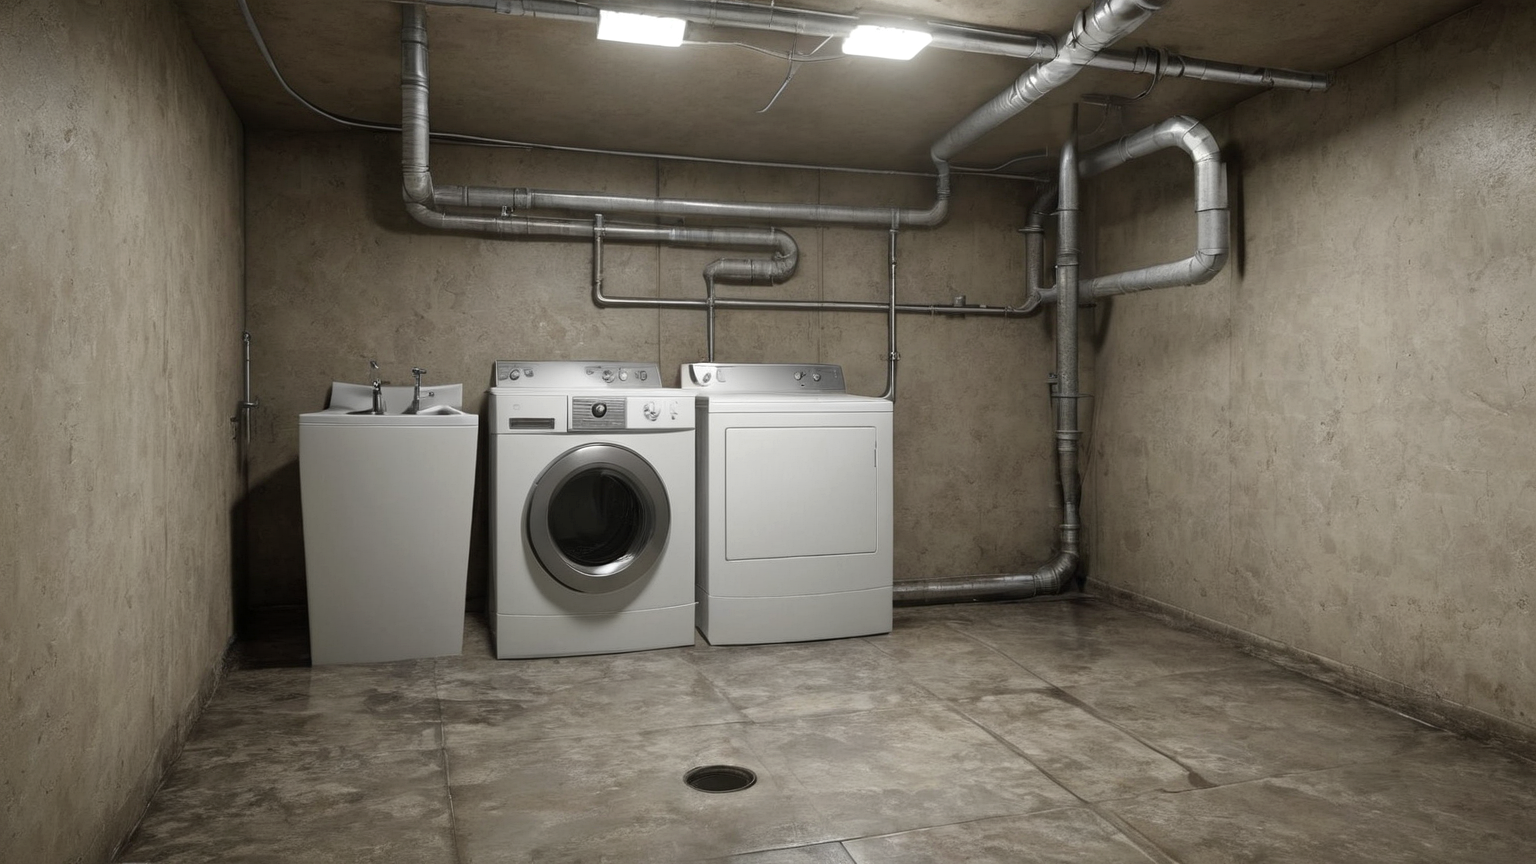
2. Route the drain hose like a failure point
Continuous drainage is convenient only when the hose slopes correctly, cannot be kicked loose, and ends in a safe drain. Check for kinks, standing water, lint, and trip hazards.
A safe hose route is short, downward, visible, and not shared with foot traffic or laundry baskets. Use a supervised test cycle before leaving it unattended, then mark the hose position so a kicked fitting or moved machine is easy to notice. If the drain is slow, go back to bucket mode until the path is cleared.
3. Set a target that matches the room
Lower is not always better. Very aggressive settings increase runtime and may not solve the cause. Pair humidity control with laundry timing, ventilation, and door/airflow choices.
A practical target is a range, not a race to the lowest possible number. If the room feels comfortable and surfaces stay dry, raising the set point slightly can reduce compressor time. If humidity rebounds immediately after every laundry load, pair the unit with shorter drying windows, better door airflow, and a check that the dryer vent is actually moving moist air outside.
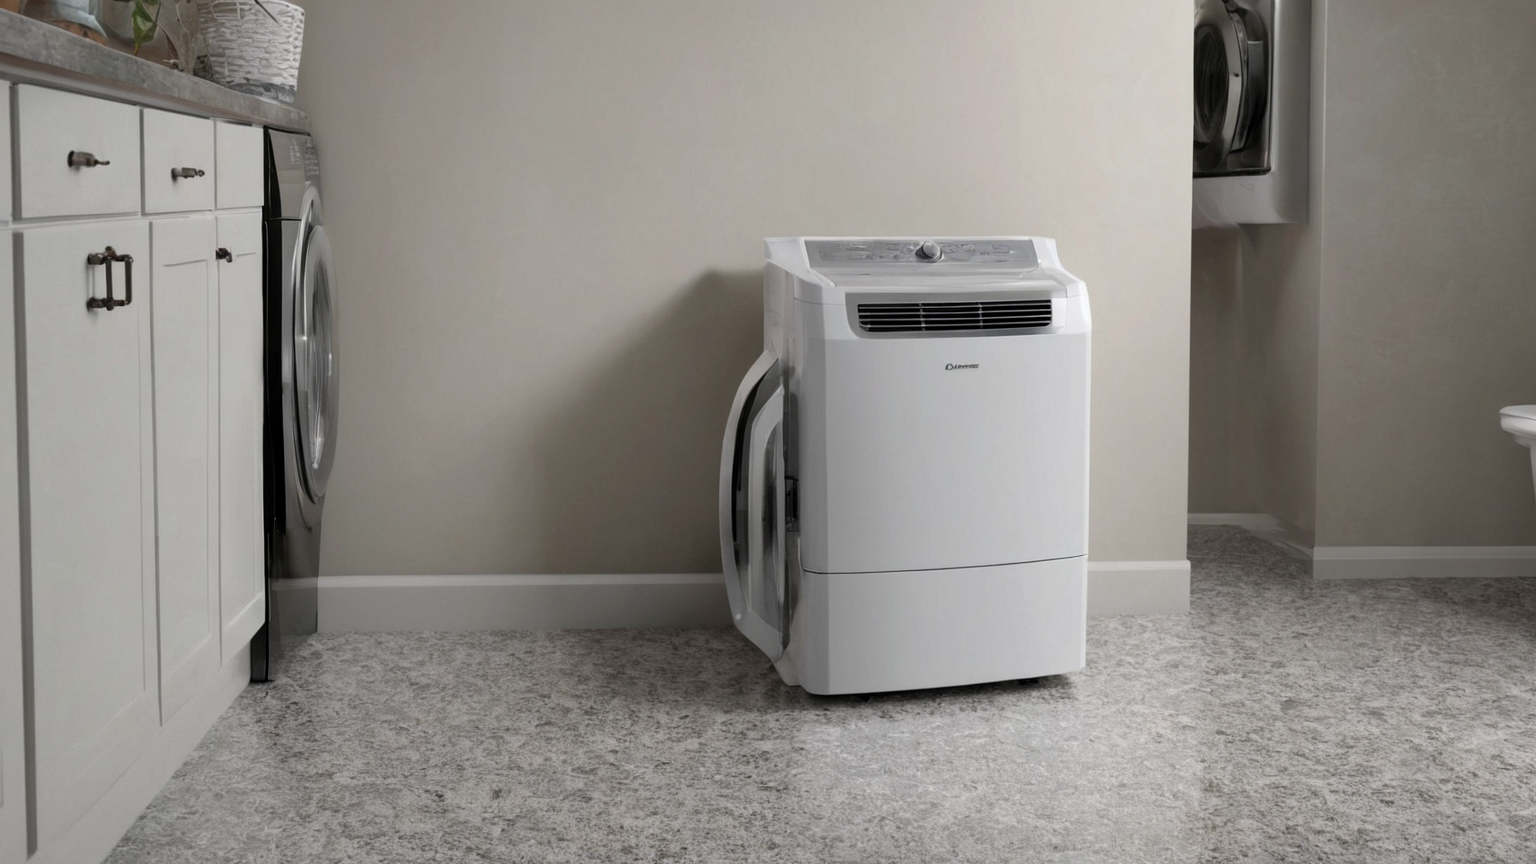
4. Keep maintenance visible
Filter cleaning, coil condition, bucket seating, and hose checks should be part of the laundry routine. A dirty unit can run longer while doing less useful work.
Make the maintenance cue visible at the washer or supply shelf: filter date, hose check, bucket seating, and a quick look for lint around air inlets. This keeps the dehumidifier from becoming a hidden appliance that runs longer every week while the laundry room quietly loses airflow.
5. Protect AdSense readiness with caveats
The article avoids unsafe electrical claims, fake control-panel images, and product pushes. It gives a reader-first checklist with source transparency.
The trust boundary is narrow on purpose: this page can help a reader choose checks and habits, but it cannot diagnose mold, wiring, or water intrusion from a photo. That wording protects readers and keeps the article aligned with helpful- content expectations instead of pretending a general blog post can replace a qualified inspection.
Seven-point implementation checklist
- Confirm the unit is sized for the room and that the manual allows continuous-drain use.
- Inspect the hose slope, clamp or fitting, drain end, and walking path before unattended operation.
- Clean the filter on a calendar cue, not only when performance already feels poor.
- Keep wet laundry, blocked vents, and closed-door airflow from making the unit fight avoidable moisture.
- Treat recurring dampness, staining, musty odor, or visible growth as a building/moisture problem, not an energy setting.
- Keep visuals and product choices secondary; the important facts are the drainage route, humidity target, and source repair.
- Recheck the plan when season, laundry volume, ventilation, or appliance placement changes.
Source notes and limitations
The linked sources are used to set conservative decision boundaries, not to create medical, legal, electrical, food- service, or mechanical instructions. Local alerts, product manuals, recalls, clinicians, emergency responders, and qualified professionals can override this general planning guide.
FAQ
Why is this a 2026 guide?
The post was prepared during the 2026-06-20 publishing run and its source URLs were checked as part of the workflow. Readers should still open current official pages when conditions are changing.
Why are the visuals plain?
The images are GTI13 raster illustrations. They avoid readable labels, fake dashboards, medical text, food-safety hazards, or appliance-control claims so the factual guidance remains in the article body.
Does this page push products?
No. It supports AdSense readiness through helpful guidance, source transparency, internal navigation, and practical limitations rather than affiliate filler.